BEAR Tower Defense Best Item Combos for Towers
Pair held gear and Battery buffs with the towers that multiply their value.
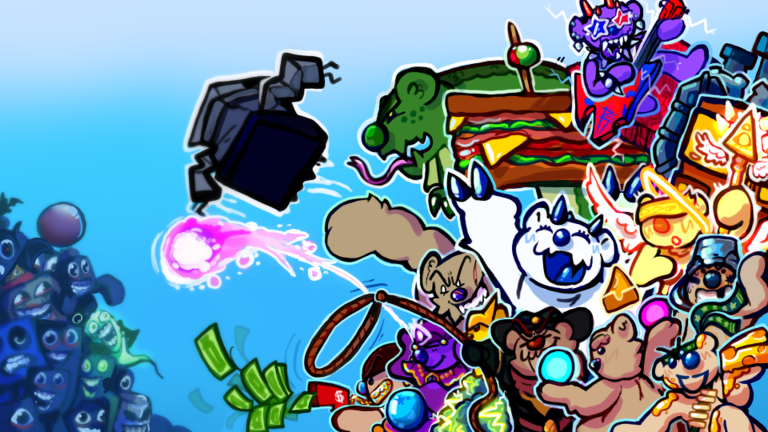
The strongest BEAR Tower Defense players treat items as multipliers — not replacements — for tower investment. A Cobra Tooth activation during a Psychic upgrade window clears Chained Bob chains faster than either system alone. A Battery buff funneled into Cheese Factory income buys two extra upgrade tiers before Balloon Bobs arrive on Haunted Mansion. This guide documents the item-and-tower pairings community clears rely on, ranked by impact and mapped to Best Towers tiers.
Read Items Explained first if you are unsure where items come from. Use this page when your roster is partially unlocked and you want maximum value per puzzle solve.
Combo evaluation criteria
We rank combos by:
- Wave coverage — Does the pair handle ground, air, and boss phases?
- Cheese efficiency — Does the item amplify income or only delete one target?
- Skill floor — Can a Getting Started player execute it on Easy?
- Hard Mode scaling — Does it survive Beat Hard Mode enemy health multipliers?
Letter grades below mirror the Tier List Hub mindset: S combos define meta routes, A combos are strong with one weakness, B combos are niche or patch-dependent.
S-tier combos
Battery buff + Cheese Factory + Psychic
The universal S-tier economic combo. Completing any puzzle charges the Battery; during the roughly 50% Cheese window, upgrade Cheese Factory first if present, then spike Psychic levels before aerial or boss waves.
Why it works: Cheese Factory extends the buff’s total value across future waves, while Psychic converts that income into immediate leak prevention.
Map callouts: Haunted Mansion wave five Balloon Bobs — solve a puzzle on wave four, upgrade Psychic to level four or five before air arrives. Lost Temple — use early Battery windows to skip lingering on Bear upgrades.
Planner tie-in: If you lack Cheese Factory, the Unlock Priority Planner flags it before cosmetic capsule chasing.
Cobra Tooth + Psychic reposition burst
Cobra Tooth supplies burst; Psychic supplies sustained magic DPS and anti-air flexibility. Activate Cobra Tooth when Chained Bob enters bridge range, then reposition Psychic units following Beat Boss Waves sell timing.
Why it works: Boss phases punish slow DPS ramps; burst deletes the highest-HP segment while Psychic cleans stragglers.
Video reference: The embedded walkthrough demonstrates tower-item sync on live waves.
Rockstar + Battery + splash held items
Rockstar AoE loves dense Bob clumps. When a Battery buff aligns with a clump wave, upgrade Rockstar pathing first, then activate splash-style held items (Big Cheese archetype) on the same wave for overlapping damage windows.
Why it works: Splash items waste value on single targets; Rockstar guarantees multi-hit setups.
Caution: Do not force this combo on Haunted Mansion bridge sections where Balloon Bobs bypass ground splash.
A-tier combos
Big Cheese + Buckethead chokepoint
Buckethead holds the line at narrow paths; Big Cheese deletes elites that would leak during upgrade gaps. Strong on Lost Temple learning routes and early Grind Quidz farms before full meta unlocks.
Weakness: Falls off when Hard Mode health scaling outpaces Buckethead without Psychic backup.
Cursed Orb + Psychic status line
Community clears pair Cursed Orb with Psychic for magic-heavy routes. A-tier because it assumes anti-air is already solved via Electrisam or Hype Beast from Anti-Air.
Bounty Poster + focused fire callouts
When Bounty Poster or similar objective items mark priority targets, stack Rockstar and Psychic fire on the callout instead of spreading Cheese evenly. A-tier in coordinated lobbies, B-tier in silent public matchmaking.
B-tier and situational combos
Held burst + Bear early game
Bear slap damage plus any burst item clears Easy Lost Temple quickly. B-tier long-term because Bear outscales poorly into Chained Bob without transitioning to Early Game recommendations.
Capsule-only gear + incomplete roster
Equipping rare held items before unlocking Psychic or anti-air towers feels powerful in isolation but loses to Haunted Mansion wave five. B-tier until Unlock Priority Planner shows anti-air coverage.
VIP Loot Bag + discount shopping
VIP shop discounts stack with passive held identity. B-tier combo for account progression speed, not raw wave DPS.
Anti-air combo requirements
No item combo bypasses Balloon Bobs. Minimum anti-air packages:
| Situation | Tower answer | Item role |
|---|---|---|
| Haunted Mansion Easy farm | Psychic levels 4–5 | Battery funds upgrades |
| Hard Mode aerial lanes | Electrisam or Hype Beast | Burst items for boss only |
| Public lobbies | Mix Buckethead + Psychic | Callouts for puzzle solves |
If the planner shows a flying gap, fix towers before optimizing held gear — see Best Item Combos only after Anti-Air requirements are met.
Combo timing checklist (Hard Mode)
- Wave 1–3 — Place Buckethead or Bear; solve every puzzle for Battery charge.
- Wave 4–5 — Battery → Psychic upgrades before Balloon Bobs on aerial maps.
- Wave 6–9 — Add Cheese Factory or Rockstar; hold burst items for elite spawns.
- Boss phase — Cobra Tooth + repositioned Psychic; sell obsolete Buckethead units per Beat Boss Waves.
When not to combo
- Low Cheese reserves — Never activate burst items when you cannot afford the tower rebuild afterward.
- Missed puzzles — Items cannot fix zero Battery income; read Complete Puzzles.
- Wrong map prep — Splash combos fail on heavy air maps; read Maps Overview before loadout selection.
Related pages
- Items Explained — Where each item type originates.
- Items Hub — Category overview.
- Best Towers — Tower tiers that define combo ceilings.
- Guides Hub — Quidz farming and Hard Mode clears that test these combos.
Master one S-tier economic combo first — Battery, Cheese Factory, Psychic — then layer burst items as your Grind Quidz income unlocks the full roster.
Frequently Asked Questions
Quick answers to the most common questions.
What is the best item combo in BEAR Tower Defense?
Battery buff plus Cheese Factory and Psychic upgrades is the most consistent S-tier combo. It turns puzzle solves into lasting economy and anti-air DPS before Balloon Bob waves.
Does Cobra Tooth work with every tower?
Cobra Tooth pairs best with Psychic burst windows during Chained Bob phases. Splash towers like Rockstar prefer Big Cheese-style items on clumped waves instead.
Can items replace Electrisam for Balloon Bobs?
No. Held burst helps bosses; aerial enemies need tower anti-air. Check the Anti-Air tier list and Unlock Priority Planner before investing in item-only strategies.
When should I activate held items?
Activate burst items when elite Bobs or Chained Bob enter your strongest chokepoint — not during calm waves. Align with Psychic upgrades when possible.
Where do I learn puzzle timing for combos?
Complete Puzzles covers Memory, Burger, Wire, and Cowboy patterns. Battery charge from puzzles fuels most S-tier combos more than any single held item.